前几天写了一篇关于 将Hugo中图片批量转换为Webp 的文章,但是遗留下一个问题没有解决:即 webp 来源问题。
由于 Windows 的 GDI 工具默认只支持 jpg png 等格式,想在 windows 上将截图直接保存为 webp 目前并没有很好的实现方法,所以在这里简单记录一下个人经验。
第三方截图工具+第三方转换工具自动保存
我在上边讲的文章中有个评论提到
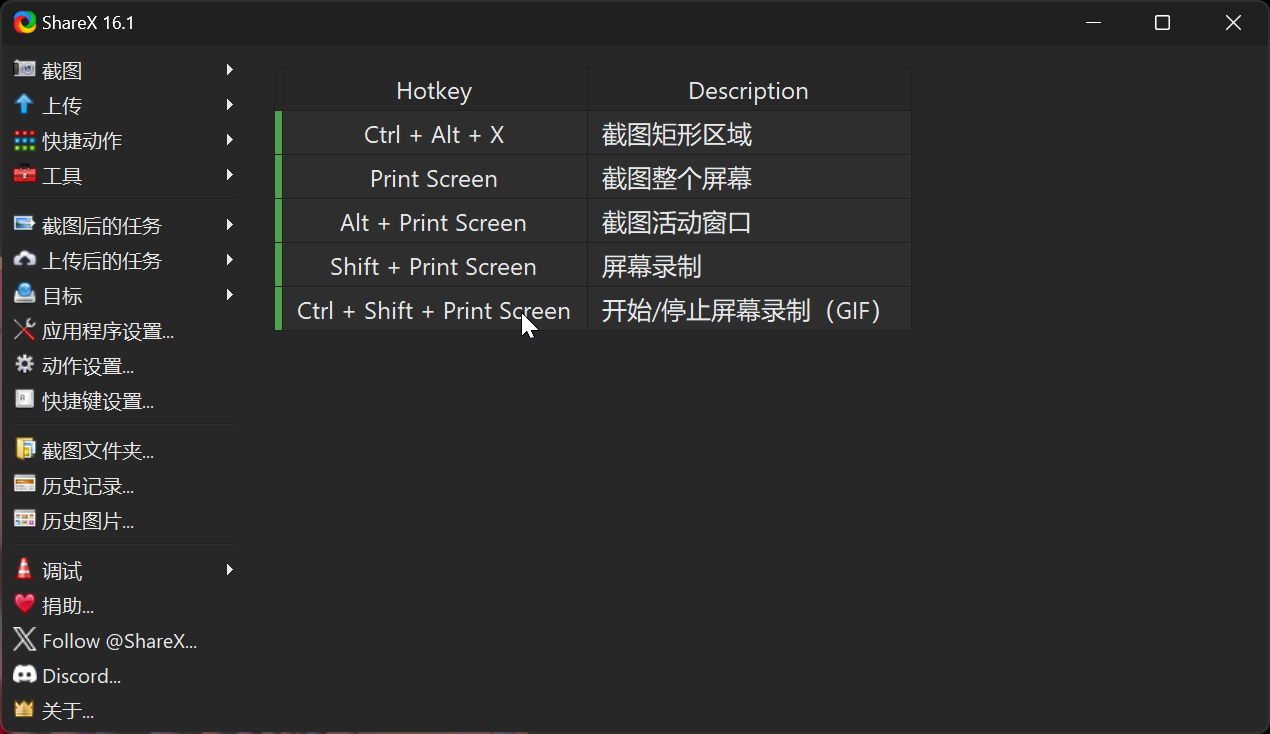
我电脑上没有太好的图片处理软件,平常都是直接截图多。在写了这个文章后,我搜了下webp截图软件,居然没找到。都得借助两个软件才能实现,一种是用 sharex 截图软件 + imagemagick 转换软件,在使用 sharex 的时候,通过内置自动化程序引入 imagemagick.exe 自动转换为webp。另一种是用 greenshot 截图软件 + imagemagick (Mogrify) 转换软件,也是同样的原理,截图时引入 mogrify.exe 自动转换。
上述两种方法,分别可以在以下地址查到。
方法一:https://limour.xlog.app/WEBP-jie-tu-gong-ju-ShareX–imagemagick?locale=zh

方法二:https://github.com/greenshot/greenshot/issues/347
First, let’s download the necessary tools:
1- Run-Hidden (it will allow us to carry out the entire process transparently, without showing any window) https://github.com/stax76/run-hidden/releases/tag/v1.2 2- Mogrify (will convert our JPG screenshot to WEBP) https://imagemagick.org/script/download.php#windows we must unzip both zip files, in my case, I use the “E:\util” folder. Next, we need to configure GreenShot: Right click on GreenShot Tray Icon -> Preferences… -> Extensions -> External command Plugin -> Configure -> New Name: WEBP (Mogrify) command: E:\Util\run-hidden.exe argument: cmd.exe /c E:\Util\mogrify.exe -strip -format webp -quality 90 “{0}” & del “{0}” https://i.ibb.co/K7hQgXK/2023-08-08-15-34-25-Window.jpg Note that both “run-hidden” and “mogrify” must be well indicated, in my case I use “E:\util”, but it could be any other folder.
Windows自带截图+第三方转换工具自动保存
这里着重讲讲怎么用 Windows自带截图+第三方转换工具自动实现 webp 保存。毕竟电脑上能少一个软件就少一个软件吧。
该方法同样需要 Imagemagick 支撑。(毕竟常用转换工具除了 Google 家的 cwebp 就 imagemagick 了)
步骤1:下载安装 ImageMagick
- 访问 ImageMagick官方网站。
- 下载适合你系统的安装包(Windows版本),按提示完成安装。
步骤2:编写批处理脚本
创建批处理脚本:
打开记事本或其他文本编辑器。
输入以下内容:
1 2 3 4 5 6 7@echo off set "source_dir=C:\Users\xxxxx\Pictures\Screenshots" set "magick_path=C:\webp\magick.exe" for %%f in ("%source_dir%\*.png") do ( "%magick_path%" "%%f" "%%~dpnf.webp" del "%%f" )请确保
source_dir为你的windows默认截图文件夹,确保magick_path的路径是ImageMagick安装目录中的magick.exe的实际路径。
保存批处理脚本:
- 将文件保存为
webp.bat,保存到一个你容易找到的位置。
- 将文件保存为
步骤3:设置Windows任务计划程序
打开任务计划程序:
- 按
Win + R打开运行对话框,输入taskschd.msc,然后按回车,或者在开始菜单中搜索“任务计划程序”并打开。
- 按
创建基本任务:
- 在任务计划程序窗口右侧,点击“创建基本任务”。
- 输入任务名称(例如“webp”),并点击“下一步”。
设置任务触发器:
- 选择“当特定事件被记录时”。
- 选择日志“Microsoft-Windows-PushNotifications-Platform/Operation",填写源
PushNotifications-Platform,事件3052。

设置操作:
- 选择“启动程序”,点击“下一步”。
- 在“程序/脚本”字段中,点击“浏览”并选择之前创建的
webp.bat文件。 - 点击“下一步”。

完成任务创建:
- 检查任务的摘要信息,确保一切设置正确。
- 点击“完成”以创建任务。
任务计划程序会在每次使用 Windows 自带截图快捷键
Win + shift + s(或者可以在Windows设置中修改为PrintScreen按键)截图后自动运行批处理脚本。
注意事项
确保你的任务触发器设置正确 按
Win + R打开运行对话框,输入eventvwr,然后按回车查看系统日志。依次点开应用程序和服务日志-Microsoft-Windows-PushNotifications-Platform/Operation项目下事件。正常情况下,在 Windows 已开启通知服务,并且 Windows 自带截图软件的通知功能打开时,每按一次 Windows 自带截图快捷键Win + shift + s,都会生成一条通知信息事件。确保你电脑上生成的通知信息事件 ID 与上边填入的一致。
如自动设置不成功可选择手动设置 双击刚才添加的任务,选择“触发器-编辑-编辑事件筛选器”,勾选“信息”,选择日志和输入事件 ID 。

添加其他格式图片转换 将上边步骤 2 中 bat 文件内容添加其他格式支持即可。例如常见 jpg jpeg 等,均可自动批量转换。
| |
如果截图后需要编辑操作比较多,可以在上边任务触发器那里手动设置延迟 30 秒或 60 秒触发。由于目前本人较多使用下载+截图模式,所以都是一股脑往某个文件夹塞,然后按
PrintScreen键就自动转换好了。(只是会多出一张截图,但没啥影响)
